Whirlpool FES350B Specifications
Browse online or download Specifications for Small kitchen appliances Whirlpool FES350B. Whirlpool FES350B Specifications User Manual
- Page / 32
- Table of contents
- BOOKMARKS
- UseAndCare 1
- A Note to You 2
- Parts and Features 6
- Using Your Range 7
- Cookware tips 8
- Home canning information 8
- Positioning racks and 9
- For best air circulation 10
- Setting the clock 11
- Using the Minute Timer 11
- Baking/roasting 12
- Broiling 14
- Broiling tips 15
- Energy saving tips 16
- To delay start and stop 17
- The oven vent 19
- The storage drawer 19
- The anti-tip bracket 20
- Using the Self-Cleaning 21
- Setting the controls 22
- Special tips 23
- Caring for Your Range 24
- Replacing 25
- Lift-up cooktop 26
- Cleaning chart 26
- The oven light 28
- If You Need Assistance 29
- 1-80044-ROPER 31
- (l-soo-447~737) 31
- Electric Range Warranty 32
Summary of Contents
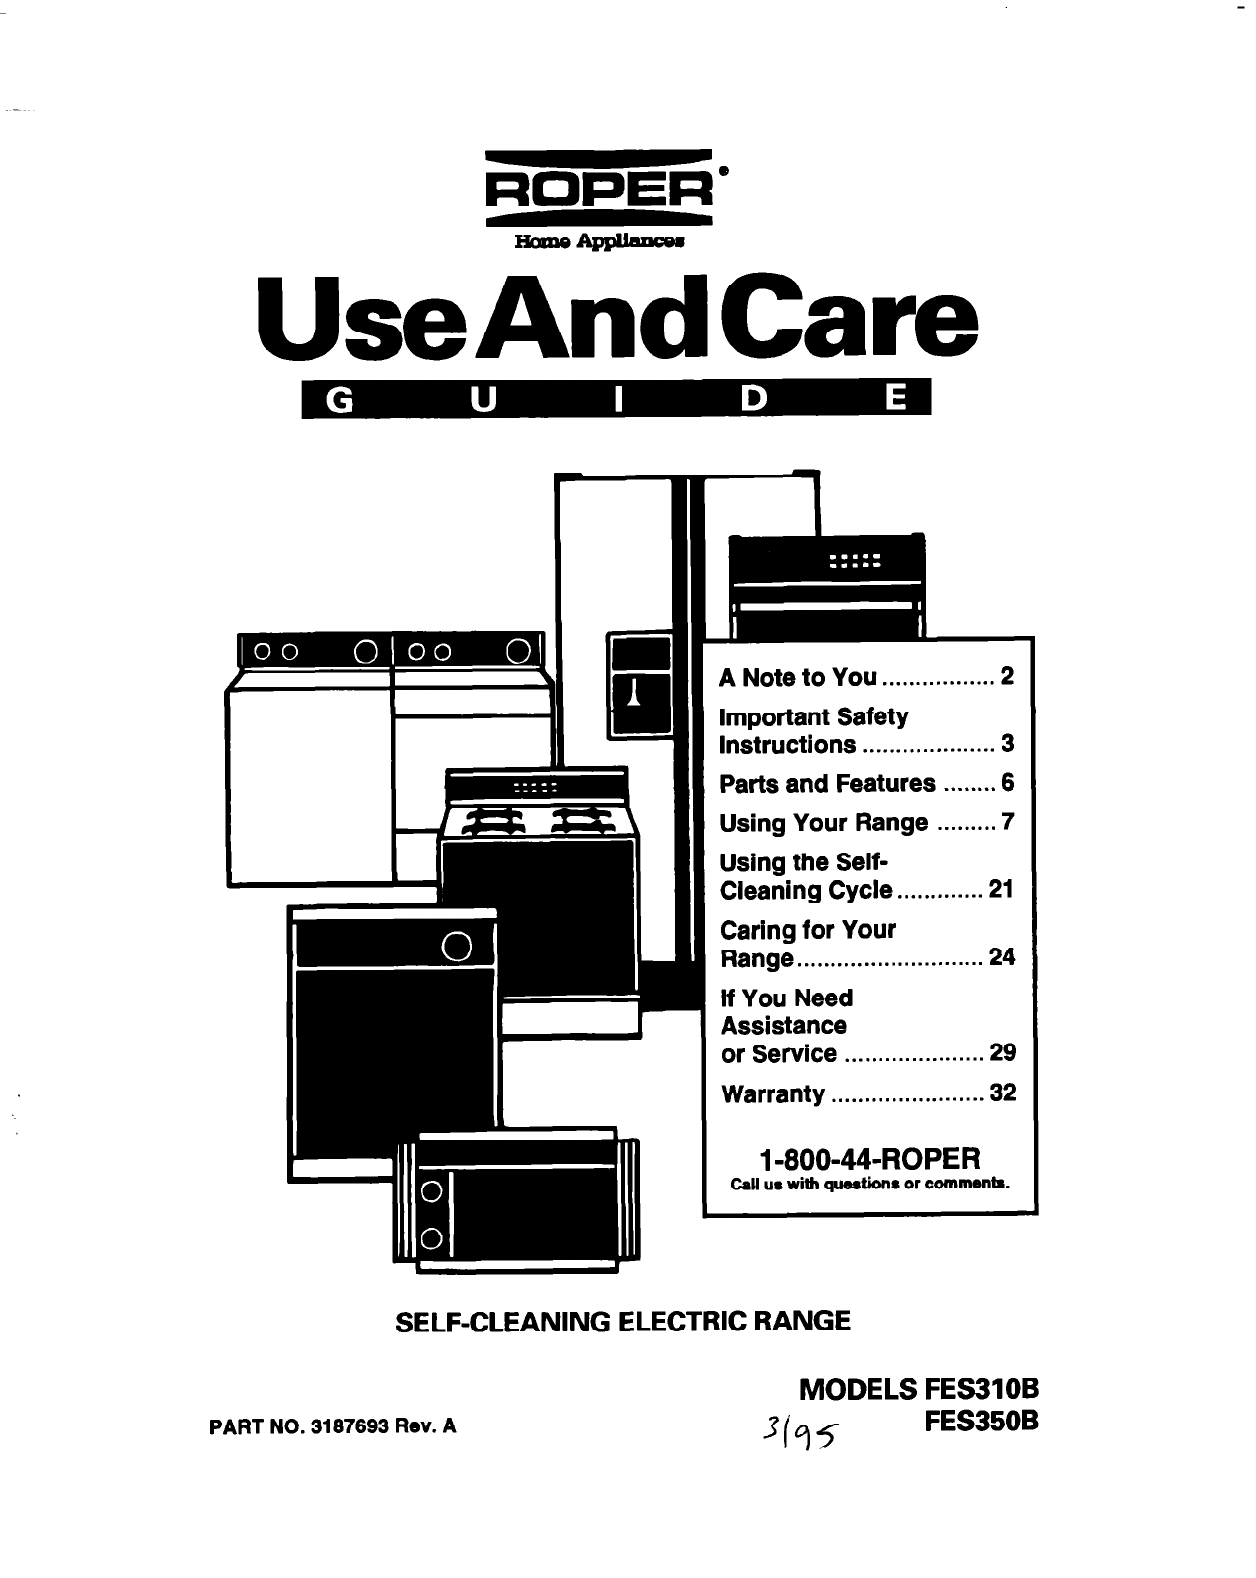
UseAndCare - A Note to You . . . . . . . . . . . . . . . . . 2 Important Safety Instructions . . . . . . . . . . . . . . . . . . . . 3 Parts and
For best air circulation Hot air must circulate around the pans in the oven for even heat to reach all parts of the oven. This res
Setting the clock Push in and turn the Minute Timer Knob to set the clock. Using the Minute Timer The Minute Timer does not start
.- Baking/roasting 1. Position the rack(s) properly before turning on the oven. To change rack position, lift rack at front and pull out. For
Adjusting the oven temperature control Although your new oven is properly adjusted to provide accurate temperatures, it may cook faster
Broiling 1. Position the rack properly before turning on the oven. Position rack so that the surface of the food is at least 3 inches (7
Broiling rack position chart RACK POSITION TYPE OF FOOD/ FROM BOlTOM DONENESS 4 Hamburger patties and thin steaks, Yz* thick or less 3 Quick
Energy saving tips Although the energy used for cooking is usually a very small percentage of the total energy used in the home, coo
Using the MEALTIMER” clock The MEALTIMER clock is designed to turn the oven on and off at times you set, even when you are not ar
To start baking/roasting now and stop automatically: 1. Position the oven rack(s) properly and place the food in the oven. 2. Push i
The oven vent Hot air and moisture escape from the oven through a vent under the right rear surface unit. You can cook on the uni
A Note to You Thank you for buying a Roper@appliance. Your Roper@ range gives you all the functionality of name brand appliances at
Replacing the storage drawer: 1. Fit ends of drawer slide rails into the drawer guides on both sides of opening. 2. Lift drawer front
Using the Self-Cleaning Cycle In This Section Page Page How the cycle works . . . . . . . . . . . . . . . . . . . . . . . . . . 21 Setting the
l Remove the broiler pan grid and any pots and pans being stored in the oven. NOTE: You can clean the broiler pan (without grid) in
4. Push in and turn the Stop Time Knob clockwise 2 or 3 hours. The OVEN HEATING Indicator Light will come on. l Use 2 hours for li
Caring for Your Range In This Section Page Page Surface units and reflector bowls . . . 24 Cleaning chart . . . . . . . . . . . . . . . . .
Replacing 1. Make sure all surface units are off and cool before replacing surface units and reflector bowls. 2. Line up openings in th
Lift-up cooktop 1. Lift front of cooktop at both front corners until the support rods lock into place. 2. Wipe with warm, soapy wa
PART Exterior surfaces (other than control panel) Surface units Porcelain-enamel reflector bowls (Model FES35OB) Chrome reflector bowls (Model
The oven light (Model FES350B) To turn on the oven light, press the Oven Light Switch on the control panel. Electrical Shock Hazard
If You Need Assistance or Service This section is designed to help you save the cost of a service call. Part 1 of this section outl
Important Safety Instructions General @Read all instructions before using the range. l Install or locate the range only in accordance wi
PROBLEM POSSIBLE CAUSE SOLUTION Control knob(s) You are not pushing in Push control knob(s) in before turning to will not turn before tr
2. If you need assistance . . . Call our toll-free telephone number. Dial toll-free from anywhere in the U.S.A.: 1-80044-ROPER (l-soo-44
ROPER” Electric Range Warranty LENGTH OF WARRANTY 1 WE WILL PAY FOR FULL ONE-YEAR FSP@ replacement parts and repair labor to correct d
@Use only dry pot holders. Moist or damp pot holders on hot surfaces could result in burns from steam. Do not let pot holder touch
Grease aGrease is flammable. Do not allow grease to collect around cooktop or in vents. Wipe spill- overs immediately. *Do not use wate
Parts and Features This section contains captioned illustrations of your range. Use them to become familiar with the location and ap
Using Your Range In This Section Page Using the surface units ... 7 Positioning racks and pans ... 9 For best
Until you get used to the settings, use the following as a guide. For best results, start cooking at the high setting; then turn the
Optional canning kit The large diameter of most water-bath or pressure canners combined with high heat settings for long periods of t
Related products and manuals for Small kitchen appliances Whirlpool FES350B
Relacionado con productos y manuales para Accesorios para vídeo Extron-electronics SW VGA_Ars Series User Guide
 (1 paginas)
(2 paginas)
(4 paginas)
(1 paginas)
(2 paginas)
(4 paginas)
© 2020, manymanuals.com. All rights reserved. | 0.722 s |
 Manymanuals.com
 Manymanuals.de
 Manymanuals.fr
 Manymanuals.it
 Manymanuals.pl
 Manymanuals.cz
 Manymanuals.es
 Manymanuals-pt.com
Comments to this Manuals