Whirlpool 3RAWZ481E User Manual
Browse online or download User Manual for Electric laundry dryers Whirlpool 3RAWZ481E. Installation Instructions
- Page / 20
- Table of contents
- BOOKMARKS
- Installation Instructions 1
- WARNING: For your safety the 2
- Electrical requirements 4
- Plan vent system 5
- Determine Vent Length 6
- Install vent system 7
- Connect vent 7
- Reverse door swing 8
- Complete installation 9
- Instructions d’installation 11
- Avant de commencer 12
- Socle facultatif 13
- Nécessaire de superposition 13
- Espacement minimum 13
- Spécifications 14
- AVERTISSEMENT 14
- AVERTISSEMENT : Pour réduire 15
- Détermination de la 16
- Pour commencer 17
- Inversion de 18
- Achever l’installation 19
- Déménagement du sèche-linge? 20
Summary of Contents
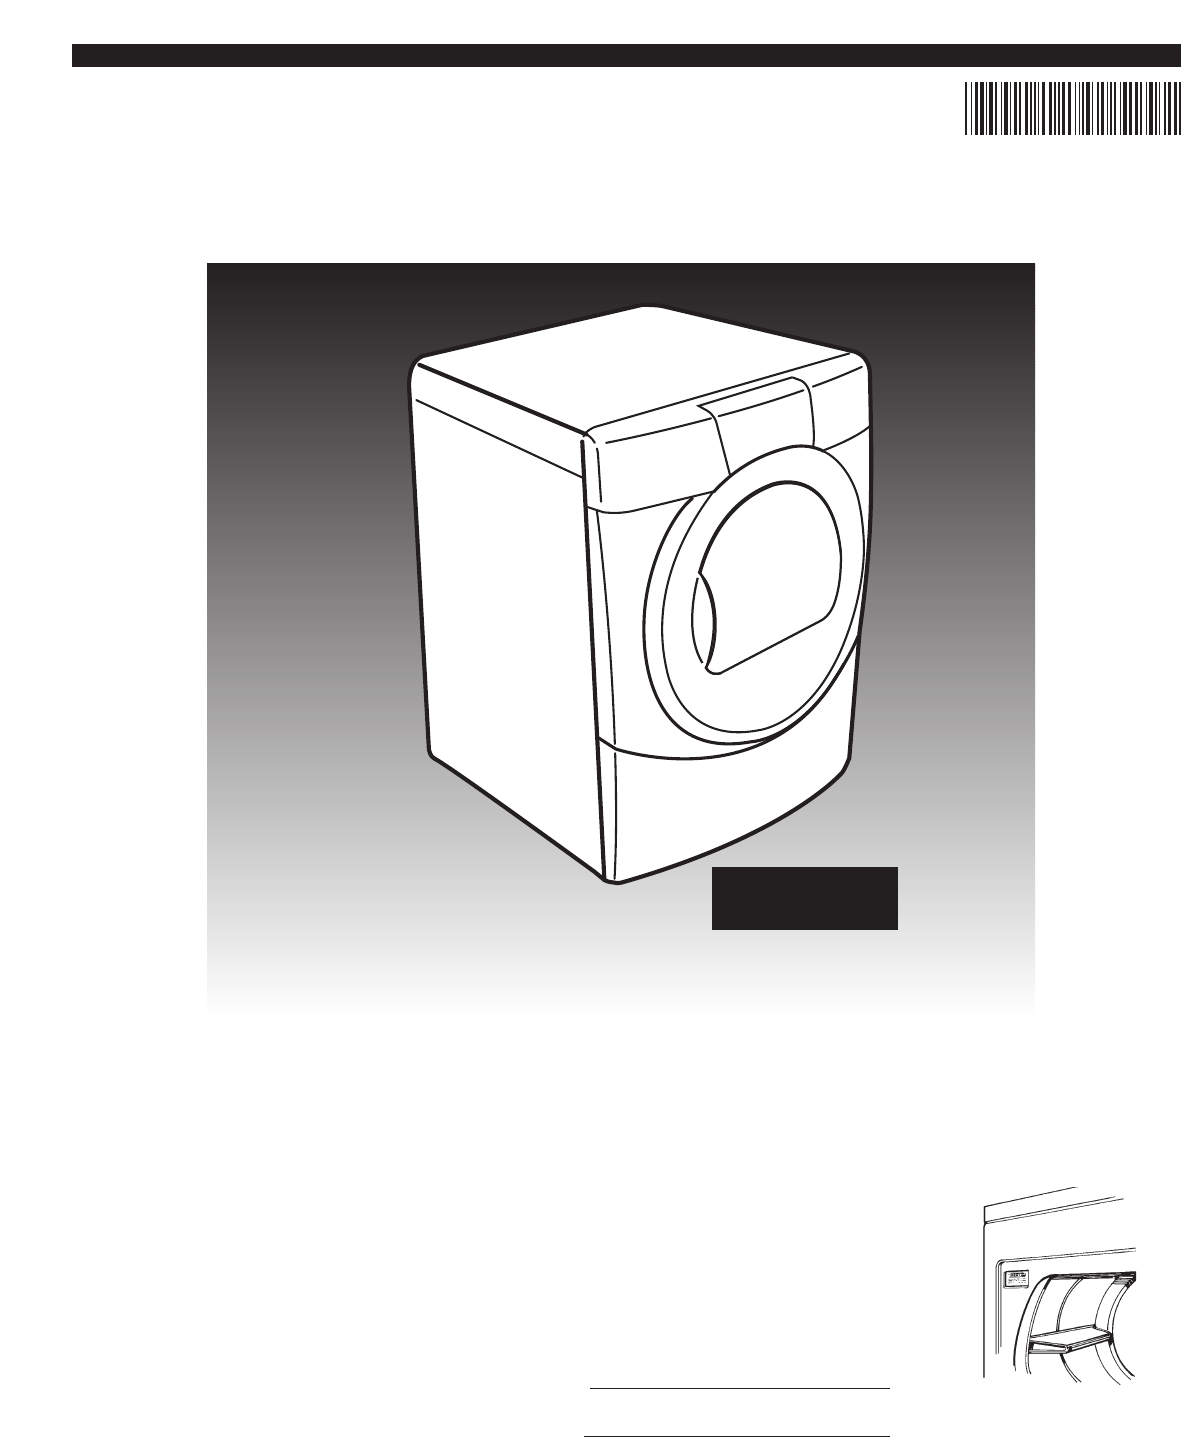
Installation InstructionsIMPORTANT:Read and save theseinstructions.Installer: Leave Installation Instructions withthe homeowner.Homeowner: Keep Instal
Printed in U.S.A.04/2004Part No. 8563878© 2004 Whirlpool Corporation Benton Harbor, Michigan 49022, U.S.A.Moving dryer to a new location?Check with a
Instructions d’installationIMPORTANT :Lire et conserver cesinstructionsInstallateur : Remettre les instructionsd’installation au propriétaire.Propriét
2AVERTISSEMENT : Pour votresécurité, les renseignements dans cemanuel doivent être observés pourréduire au minimum les risquesd’incendie ou d’explosio
3Pièces nécessairespour l’installation… Socle facultatifConsulter les codes locaux et lire lesspécifications pour l’électricité etl’évacuation avant d
4Risque de choc électriqueBrancher dans une prise reliée àla terre.Ne pas utiliser un adaptateur.Ne pas utiliser un câble derallonge.Le non-respect de
5Risque d’incendieUtiliser un conduit d’évacuation enmétal robuste.Ne pas utiliser un conduitd’évacuation en plastique.Ne pas utiliser un conduitd’éva
6REMARQUE : On peut acheter lestrousses suivantes pour les installations où le dégagement est réduit. Veuillezconsulter la section “Assistance ouservi
7Risque du poids excessifUtiliser deux ou trois personnespour déplacer et installer le sèche-linge.Le non-respect de cetteinstruction peut causer uneb
8Enlever la charnière et son couvercle1. Placer la partie interne de la porte, côtéde la tête des vis vers le haut, sur lasurface de travail.2. Tirer
4. Utiliser un petit tournevis à lame platepour enlever les bouchons dansl’ouverture de la porte. Glisser la lamedu tournevis sous le capuchon dubouch
2WARNING: For your safety theinformation in this manual must befollowed to minimize the risk of fire orexplosion or to prevent propertydamage, persona
Imprimé aux Etats-Unis04/2004Pièce N° 8563878© 2004 Whirlpool Corporation Benton Harbor, Michigan 49022, É.-U.Déménagement du sèche-linge?Vérifier av
3Parts needed forinstallation...Optional pedestalCheck local codes and read electrical andventing requirements before purchasingparts.For close-cleara
4Electrical Shock HazardDo not use an adapter.Do not use an extension cord.Failure to follow theseinstructions can result in death,fire or electrical
5Fire HazardUse a heavy metal vent.Do not use a plastic vent.Do not use a metal foil vent.Failure to follow these instructionscan result in death or f
6NOTE: The following kits for closeclearance alternate installations areavailable for purchase. Please see the“Assistance or Service” section of thism
7Excessive Weight HazardUse two or more people to move andinstall dryer.Failure to do so can result in back orother injury.WARNINGNow start installati
8Remove the hinge and hinge cover1. Place the inner door, screwhead sideup, on the work space.2. Gently pull the plastic cover out anddown. This unsna
94. Use a small flat-head screwdriver toremove plug strip from the door opening.Slide the head of the screwdriver underthe top, middle, and lower part
Related products and manuals for Electric laundry dryers Whirlpool 3RAWZ481E
 (20 pages)
 (24 pages)
 (24 pages)

 (76 pages)
© 2020, manymanuals.com. All rights reserved. | 1.333 s |
 Manymanuals.com
 Manymanuals.de
 Manymanuals.fr
 Manymanuals.it
 Manymanuals.pl
 Manymanuals.cz
 Manymanuals.es
 Manymanuals-pt.com
Comments to this Manuals