Whirlpool ACU124PK0 Use and Care Guide
Browse online or download Use and Care Guide for Split-system air conditioners Whirlpool ACU124PK0. Whirlpool ACU124PK0 Use & care guide User Manual
- Page / 16
- Table of contents
- TROUBLESHOOTING
- BOOKMARKS
- Use & Care Guide 1
- Installation Instructions and 1
- Important Safety Instructions 2
- Electrical Requirements 3
- 115-volt models with amperes 4
- 230/208-volt models with 6
- Installation Instructions 7
- 8" 8
- INSTALLATION INSTRUCTIONS 9
- Operating Instructions 10
- The vent control 11
- Changing air direction 11
- Cleaning instructions 12
- Maintenance Instructions 13
- Troubleshooting 14
- Model and 15
- WHIRLPOOL 16
Summary of Contents
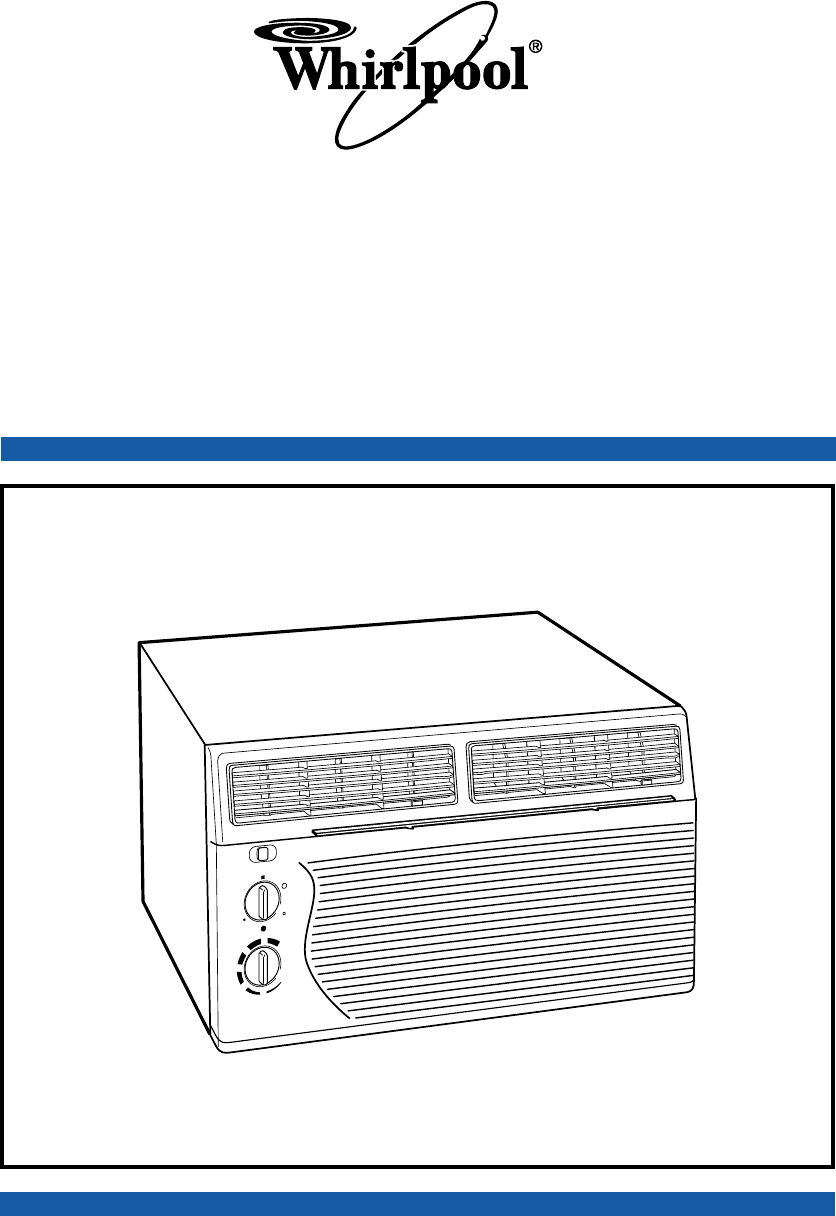
THROUGH-THE-WALL AIR CONDITIONERPART NO. 23-11-1186N-005/789957Use & Care GuideInstallation Instructions andwww.whirlpool.comHome Home AppliancesA
10Operating InstructionsBAFancontrolThermostatcontrolThermostatcontrolBStarting your air conditioner1. Push VENT control closed.2. Set fan control to
11The vent controlThe vent draws stale or smoky air from the room,or circulates existing room air.To exhaust room air1. Pull the vent control open.2.
12Cleaning the slide-out filterThe filter is removable for easy cleaning. A cleanfilter helps remove dust, lint, and other particlesfrom the air and i
13Maintenance InstructionsAnnual maintenanceThe compressor and fan motor are sealed andneed no oiling. The expense of an annualinspection is the custo
14CHECK IF• Power cord is plugged into a livecircuit with proper voltage.• Fuse has blown or circuit breaker hastripped. Also, check if a time-delayfu
15Before calling for assistance or service, pleasecheck “Troubleshooting” on page 14. It may saveyou the cost of a service call. If you still need hel
LENGTH OF WARRANTYFULL ONE-YEARWARRANTY FROMDATE OF PURCHASEFULL FIVE-YEARWARRANTY FROMDATE OF PURCHASE2ND THROUGH 5TH YEARWHIRLPOOL WILL PAY FORRepla
2PageImportant Safety Instructions ... 2Electrical Requirements ... 3Installation Instructions ...
3Electrical RequirementsBelow are electrical plug variations, choose theone which matches the ampere rating of yourunit. Your model’s ampere rating is
4Electrical RequirementsContinued115-volt models with amperesup through 7.5Outlet wiringOutlet wiring should be a minimum of14 gauge. Use copper wire
5ELECTRICAL REQUIREMENTSGroundprong3-pronggroundplug3-prongground-typeoutlet(singleoutlet)PowersupplycordElectrical Shock HazardPlug into a grounded 3
6Electrical RequirementsContinued230/208-volt models withamperes up through 12.0Outlet wiringOutlet wiring should be a minimum of14 gauge. Use copper
7This air conditioner has been designed forinstallation through the wall, in a sleeve. It is theresponsibility and obligation of the customer tohave t
83. Measure wall sleeve depth. If sleeve ismore than 18" deep, remove condenserbaffle. Use the 2 screws from the condenserbaffle to attach the de
9INSTALLATION INSTRUCTIONS5. Align the grille to engage the screw headsthrough the keyhole slots in the outerflanges of the sleeve. Push downwarduntil
Related products and manuals for Split-system air conditioners Whirlpool ACU124PK0
 (16 pages)

 (36 pages)
© 2020, manymanuals.com. All rights reserved. | 0.041 s |
 Manymanuals.com
 Manymanuals.de
 Manymanuals.fr
 Manymanuals.it
 Manymanuals.pl
 Manymanuals.cz
 Manymanuals.es
 Manymanuals-pt.com
Comments to this Manuals